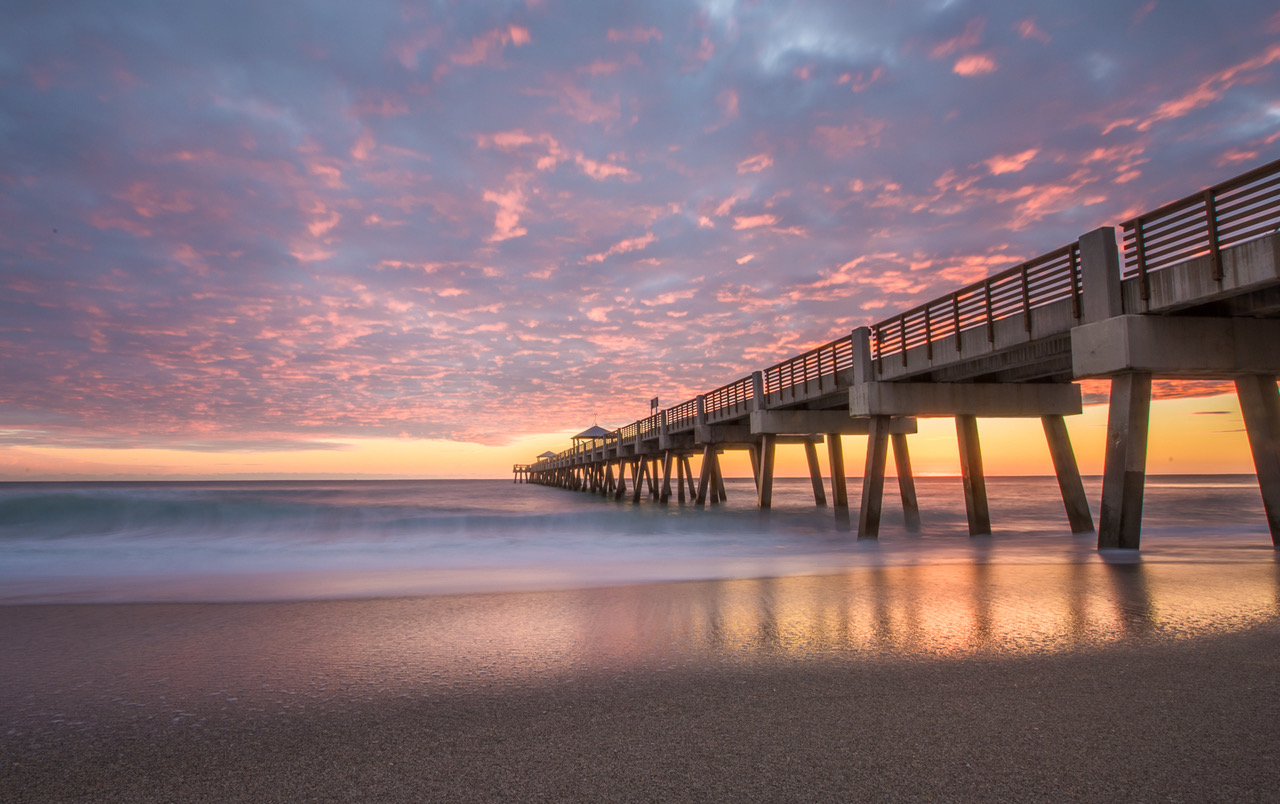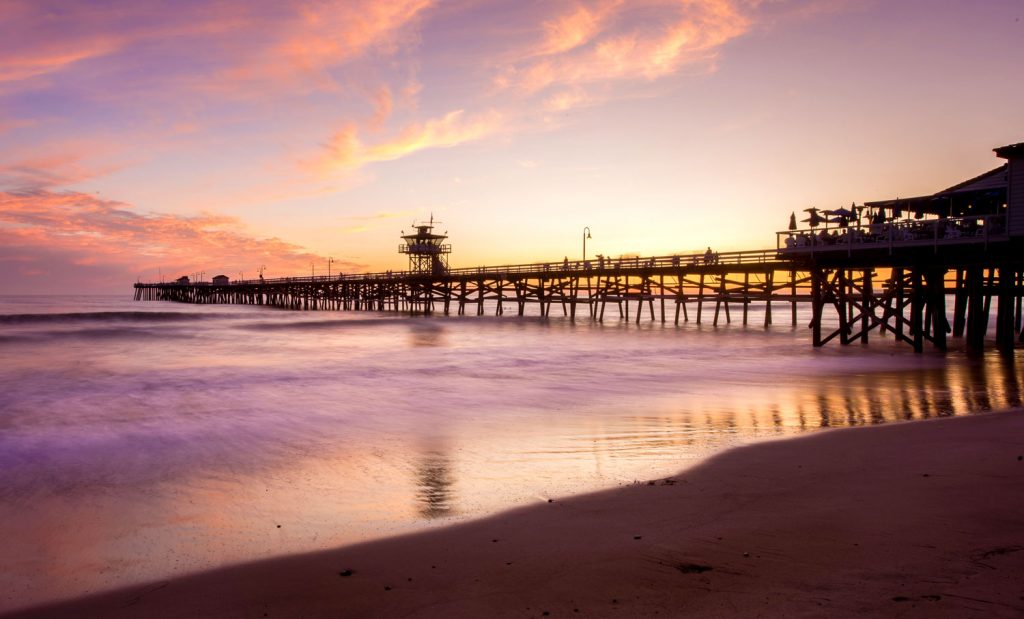
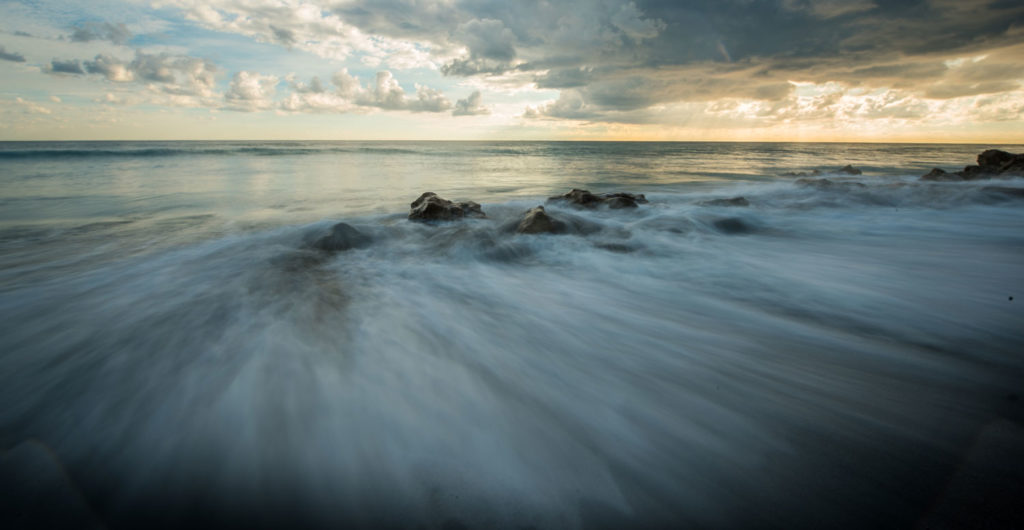
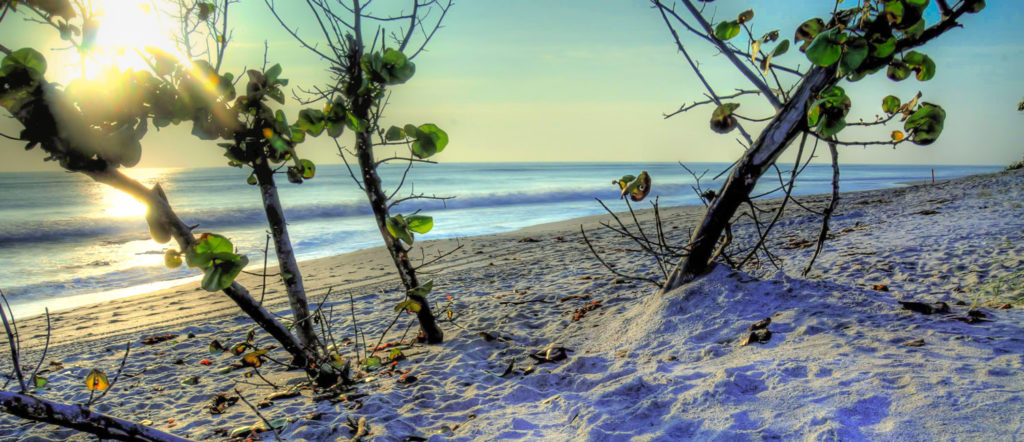
I love teaching students the joy of taking long exposures. No other technique so dramatically turns land and seascape images into standout “fine art” captures. A long exposure conveys motion. And it’s a technique that quickly makes intermediate photographers feel like pros! With a long exposure, your image defies time/reality–by including both the wave washing up the beach and receeding back into the ocean! A long exposure can quickly make a harsh and choppy ocean surface silky smooth, or turn a sky mottled with scudding clouds into a wash of colorful streaks.
The art of long exposure photography requires a tripod and an investment in a filter holder and several filters. I use the Lee filter system, inserting a “Little Stopper” neutral density filter for evening, night and pre-sunrise captures and a “Big Stopper” for daytime captures. There are also adjustable “screw on” type ND filters available at a much lower cost. I prefer the filter holder, only because I can also insert “graduated neutral density filters” on other occasions when the sky is overly bright, but the landscape is lit well.
I spent about $400 for the system, and believe it’s the best investment a serious landscape photographer can make.
Taking a long exposure seems daunting at first. But, it’s a series of steps you can quickly master during a photography workshop. Its important to first compose your scene and focus manually, before inserting the filter.
The best way to do this is to use live view and to enlarge the live view image and focus on an object with contrast about one third into the frame.
To avoid blur, and light leakage, use the “mirror up” setting and and delay the shutter release for 2 seconds.
When focus is sharp, you insert your filter.
A lot of light is going to come into the lens during a 10 to 30 second exposure, so lower the ISO setting to 100. Low ISO also results in the least grain in the finished image.
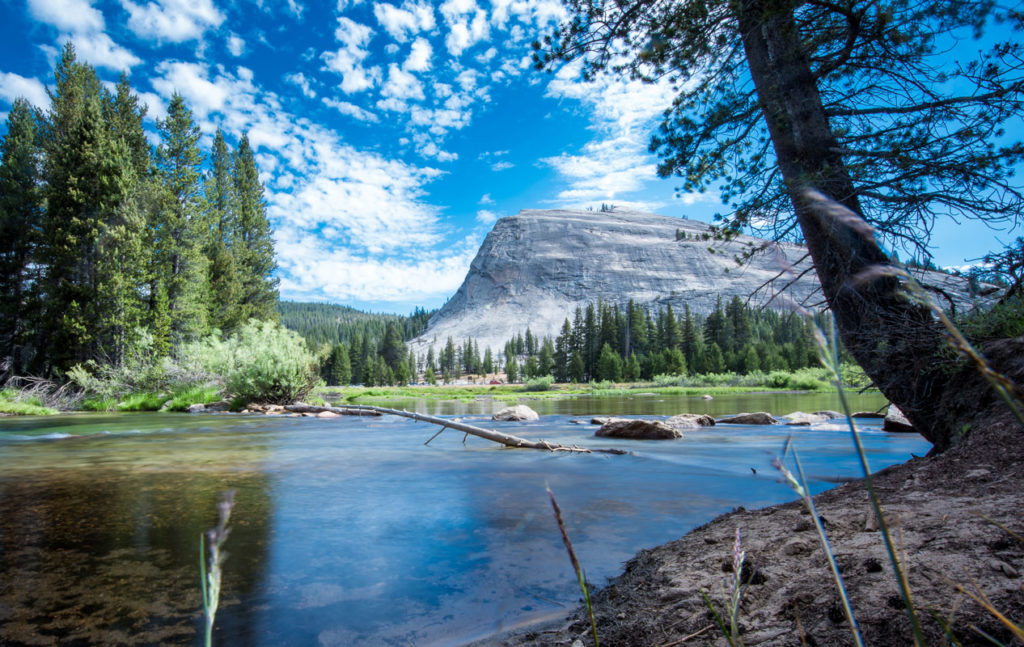
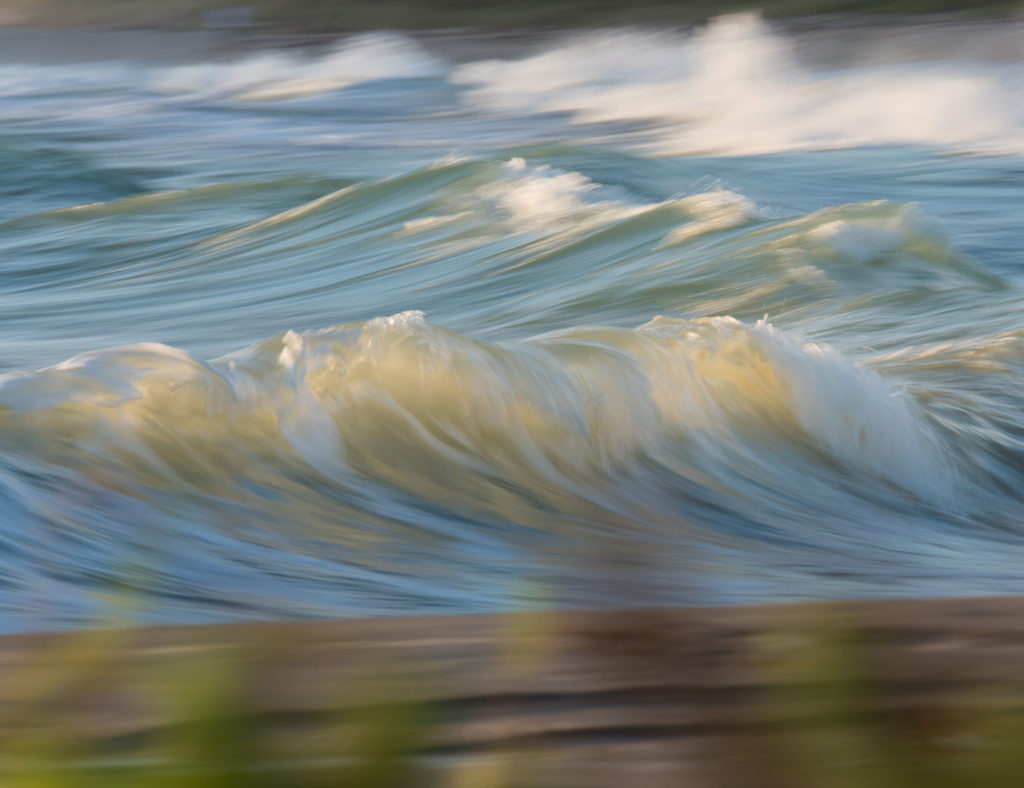
In manual mode, choose your shutter speed—the shorter the shutter is open, the less blurring you will see, the longer the shutter is open, the more blurring will be captured. I like 2-30 second exposures for ocean waves, and 2 to 6 seconds for waterfalls. There is no hard and fast rule—you are the artist and you decide what you like through the joy of experimentation!
Getting a good exposure takes some trial and error. You will be adjusting the F-stop among its highest settings and checking the histogram on your image playback. I takes the patience of 4 or 5 test exposures you get something you really like. I also under expose a bit, so I can lighten in Adobe Lightroom without losing any highlights.
Long Exposure is so important, that I include it in all of my workshops. I am addicted to seeing student’s faces light up smile when they succeed and process these otherworldly images.