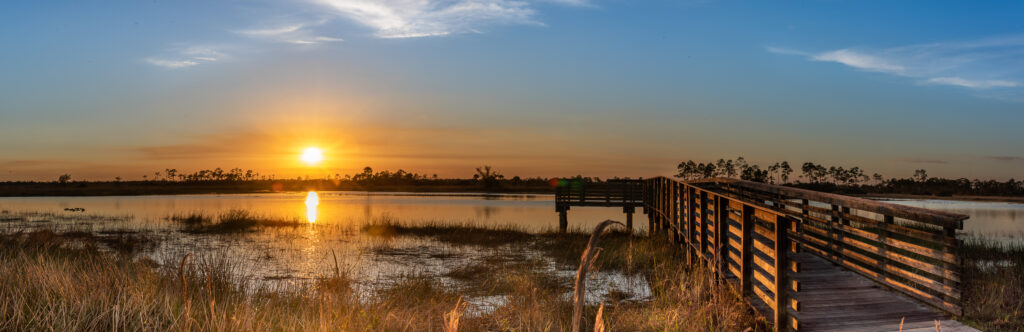
Want to capture both a sunset and moonrise in one outing? Just choose a date a few days ahead or behind a full moon. Look up the sunset time in your area and choose your favorite nearby location. I like seeing a sunset reflected in water–and am fortunate enough to live in Southeast Florida where we have many natural preserves with wetlands and waterways.
So for this workshop, I chose Pine Glades Natural Area, west of Jupiter Florida. The area features open horizons both east and west, and as its name implies–the terrain consists mostly of grassy marsh for as far as the eye can see.
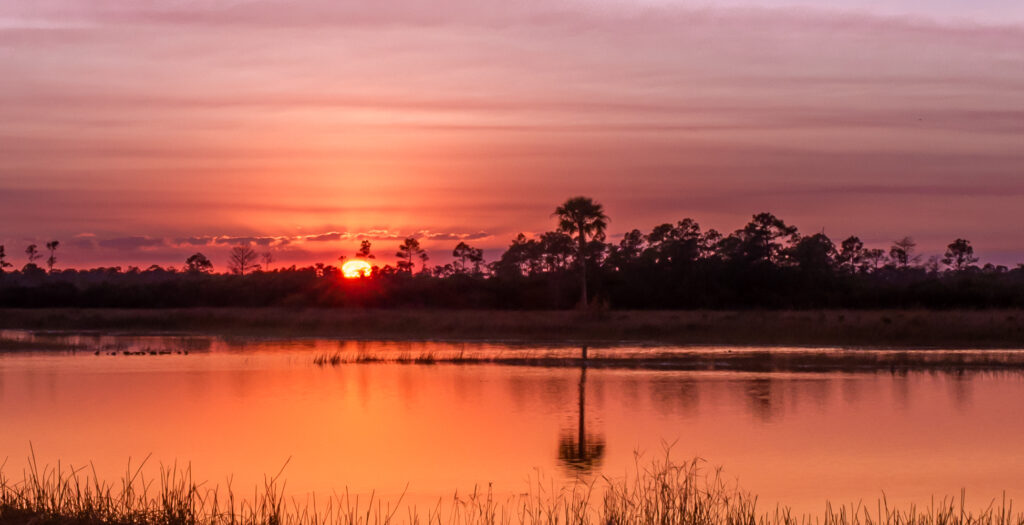
Shooting the sunset is important skill every landscape photographer must master. Even though this is one of the most commonly attempted photo, it is one of the most difficult to get right. Why? The dynamic range of the scene–with the blazing disk of the sun combined with the subtle colors of the sky and clouds AND the shadowed foreground is beyond the scope of every camera. If you expose for the bright sun–the rest of your image is dark. If you expose for the sky colors–the sun will be “blown out”( a highlight that cannot be recovered in post processing)
There are two solutions I that are fairly easy to master.
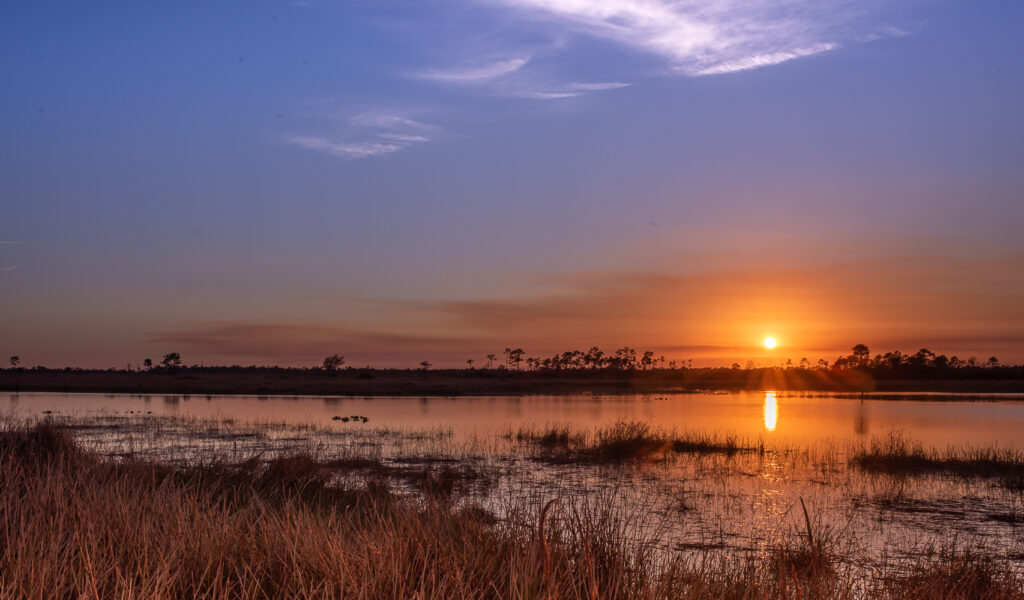
- Use a neutral density filter. This is the solution photographers used before the advent of post processing programs like Adobe Lightroom. Its also my favorite way to get a good capture. I use the rectangular filters that slide into a holder on my wide angle lens. I suggest using a tripod and setting a shutter delay of 2 seconds to avoid camera shake. I also suggest shooting in manual mode using the highest F-stop your lens allows. This often will create the “Sunstar or Sunburst effect” where narrow rays of light radiate from the disk of the sun. In post processing, you can further darken the sun or lighten the foreground with Lightroom’s graduated filter.
2. Make a series of 3,5 or 7 images with exposure compensation then “blend them together in Adobe Lightroom. To do this properly, keep a consistent F-stop, but vary the shutter speed–faster for darker images and slower for brighter images. If each is a RAW file, you can “stack them” together in Lightroom and have a file with a broad spectrum of lights and darks to work with. Stacking in Lightroom is easy, just click on PHOTO-PHOTO MERGE–HDR. Photoshop offers more advanced post processing techniques that require layers and masking skills–but I like the ease and instant gratification of Lightroom Blending.
Now, that you have found Lightroom’s PhotoMerge feature–you can also stitch together a sunset panorama. Overlaps the frames you shoot by one third so the program “sees” enough information to make a panorama.
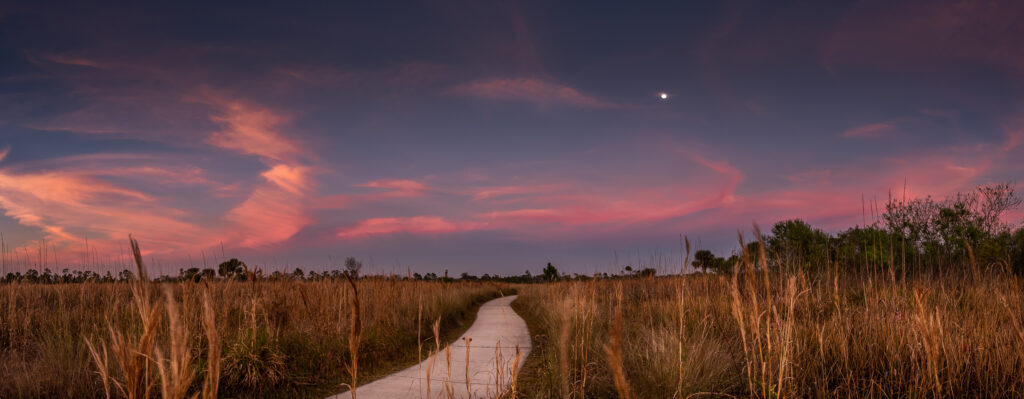
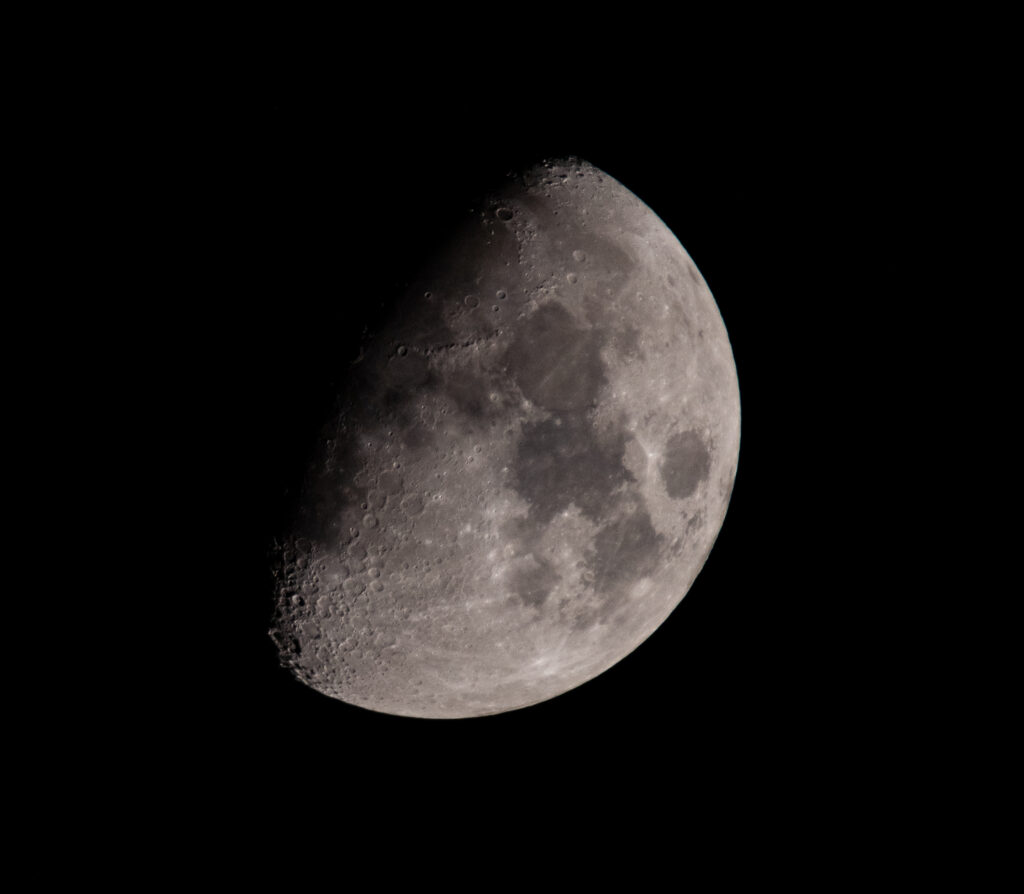
After the sun sets, you may wish to swivel your camera on the tripod in the opposite direction and shoot the sky and moon. This is an easy wide angle shot not requiring any filters. I like to take a series of exposures, and then choose from a slightly underexposed image to process. The full moon is exceptionally bright in contrast to your scene, and will appear as a blown out dot–but this is acceptable in a wide angle panorama. Close-ups of the moon and a foreground object is much trickier.
If you want the moon to be exposed properly–to see its craters AND also include a foreground object like a lighthouse, you WILL need to use a dark graduated neutral density filter over the moon. I suggest using LIVE VIEW focus as best way to get sharp landscapes and close-up shots. ZOOM in as closely as you can to your subject in LIVE VIEW and focus manually. You will notice the moon “moves quickly” out of your frame as our earth turns.
Conquering all of these little challenges, will increase your appreciation for the majesty of our natural world. And as always, there is something wonderfully calming about witnessing the sunrise, sunset and moonrise out in the wild!